Fatal Claw How to Beat Resio and Fatum
Dark paired encounter — count teleports, use the heart, survive phase two.
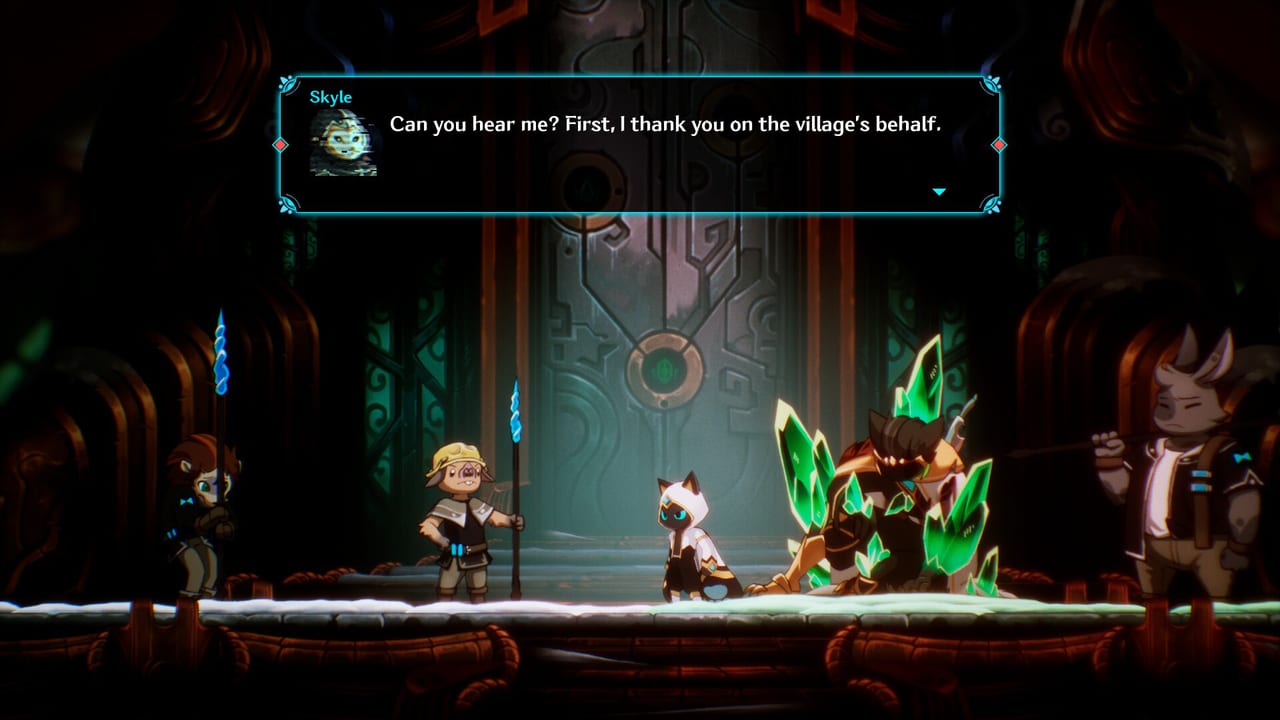
Resio and Fatum are a paired encounter in Black Canyon. The community boss guide confirms they share one fight. Darkness is part of the arena state — it is not a temporary debuff or environmental hazard, it is the arena’s default condition for the entire encounter. The glowing center heart briefly restores enough light to read the next attack pattern. This page is the fight essay. Pair it with Bosses Hub and How to Beat Early Bosses for the broader picture.
The dark arena mechanic
The arena goes dark without warning. Visibility drops to near-zero within a second. Resio teleports three times before each attack — that is the rhythm to learn. The darkness is total, not dim; you cannot read the floor, the walls, or attack windups until light is restored. When darkness prevents a clean read, sprint to the center heart. The restored light is brief — typically three to four seconds — use it to count the teleports and prepare for what follows. Do not treat the heart as optional. In phase two, the darkness is compounded by bouncing projectiles, making the heart reset even more critical.
The dark arena is a deliberate design choice tied to the Imprint School lore of Black Canyon. The Imprint School trained students to fight blind, relying on spatial memory and rhythm rather than visual confirmation. Resio and Fatum embody that philosophy. Every attack cycle begins with teleports, and every teleport cycle begins in darkness. If you do not reset at the heart before each attack window, you are fighting at a permanent disadvantage.
Resio’s three-teleport tell
The community guide documents Resio’s core pattern: three teleports, then an attack. This is the single most important tell in the fight. Count the relocations. When the arena is dark, reset at the heart first, then count. When light is available, read from the teleports directly — each teleport leaves a brief afterimage that confirms position.
The three teleports are not random repositioning. Resio uses them to build pressure: first teleport narrows escape routes, second teleport creates cross-pressure, third teleport precedes a committed attack. After the third teleport, you have approximately one second before the attack lands. This means the heart reset must be timed to coincide with the window after the attack lands, not during the attack itself.
Phase two introduces a modifier to this pattern. After the three teleports and attack, bouncing projectiles remain on the floor for the duration of the phase. These projectiles do not disappear when light is restored. A wall jump followed by a center dash creates vertical and horizontal space above the projectile field. Do not dash inward toward the arena center until the projectile path has opened — dashing into the center while projectiles are still bouncing creates an unavoidable overlap.
Center heart usage
The heart is both a tool and a commitment. Touch it to restore light. The restored window is brief — do not overstay. Reset position after reading, then return to the heart only when the next darkness cycle begins.
Effective heart usage requires anticipating the darkness phase, not reacting to it. As soon as Resio completes an attack and the light window opens, study the arena. Identify the wall-jump points, confirm projectile positions, and plan your path for the next dark cycle. The heart is not a safe haven — lingering near it after light restores exposes you to projectile crossfire in phase two.
Positioning around the heart matters. The heart sits at the absolute center of the arena. Standing directly on it after a reset means you are in the most predictable location. Mix your reset position: touch the heart, then immediately move to a lateral offset before the next dark cycle. This reduces the chance of being caught in the center when an attack lands.
Wall-jump strategies in phase two
Phase two demands a wall-jump rhythm that works in near-zero visibility. The wall surfaces are vertical faces on the north and south edges of the arena — feel for them by tapping left or right while holding jump. A successful wall jump launches you upward and toward the opposite wall, creating a bounce trajectory.
Chain wall jumps without dashing to gain height, then read the projectile field from above before deciding your landing zone. The projectile bounce pattern is consistent: they spawn from the center and arc outward toward the walls before rebounding back. The window between the outward arc and the return arc is your dash window.
Do not rely on horizontal dashes alone in phase two. Horizontal movement alone cannot clear the projectile field — the bouncing arcs cover both ground level and mid-height. Wall jumps are the only reliable way to achieve sufficient vertical displacement to avoid the bouncing projectiles entirely.
Phase transitions
The fight transitions at approximately half health. Resio and Fatum share a health bar — when the shared bar reaches approximately 50%, the arena shifts. Light restoration durations shorten, teleports become faster, and bouncing projectiles enter the floor.
There is no explicit phase-two announcement. The transition is signaled by the first bouncing projectile appearing after an attack cycle. Treat every attack cycle after the 50% health mark as potentially phase-two. Assume phase two from the start if you are fighting a higher-difficulty variant.
Between phases, the heart becomes temporarily inert — it will not restore light for a brief window during the transition. Do not depend on a heart reset during this gap. Complete the current attack cycle and prepare for the new pattern without relying on light restoration.
Region context
Black Canyon arrived in the 1st Expansion (v0.9.228) alongside Strigine Quarry and Higasha Tundra. The canyon is mud, vertical dark, and Imprint School remnants. The environment is deliberately claustrophobic — narrow sightlines, uneven terrain, and scattered Imprint School debris create a maze-like quality that compounds the darkness mechanic.
Engraved Skills are the regional thesis — Irbes taught clump mechanics in Ashen Valley, and Resio-Fatum tests dark-arena discipline. The fight is a practical exam of everything the Imprint School represents: spatial awareness without sight, rhythm without audio cues, and attack reading without visual confirmation.
The Imprint School’s presence in Black Canyon is not purely aesthetic. The arena’s floor bears faint carved patterns — visible only when the heart restores light — that mirror the teleport positions. Experienced players use these floor patterns to anticipate teleport destinations even in darkness, effectively using the heart window to mark the arena for the remainder of the fight.
See All Areas for the full canyon description and Full Walkthrough for the route. The canyon connects westward to Strigine Quarry and northward to Higasha Tundra — Resio-Fatum is the mid-canyon gatekeeper that guards access to the deeper canyon zones.
No invented HP values
Public notes do not publish Resio-Fatum HP. No fake phase names beyond what the arena shows. Pattern discipline, heart resets, and counting teleports are the confirmed tools. Any community guide that lists specific HP thresholds or phase names not visible in-game should be treated as unconfirmed speculation.
Frequently Asked Questions
Quick answers to the most common questions.
Where are Resio and Fatum?
Black Canyon, paired encounter in the dark. They share one fight with a shared arena.
How do I handle the darkness?
Touch the center heart to briefly restore light. Use the window to count Resio's three teleports before the next attack.
What changes in phase two?
Bouncing projectiles join the floor. Wall jump, then dash toward center after the projectile path opens.
Do both bosses need to be defeated separately?
The community guide treats them as a paired encounter sharing one fight state. Check the health bar responses to confirm which is the real target if attacks seem to miss.