Fatal Claw Full Walkthrough
Official regions, 1.0 marsh, and when to backtrack.
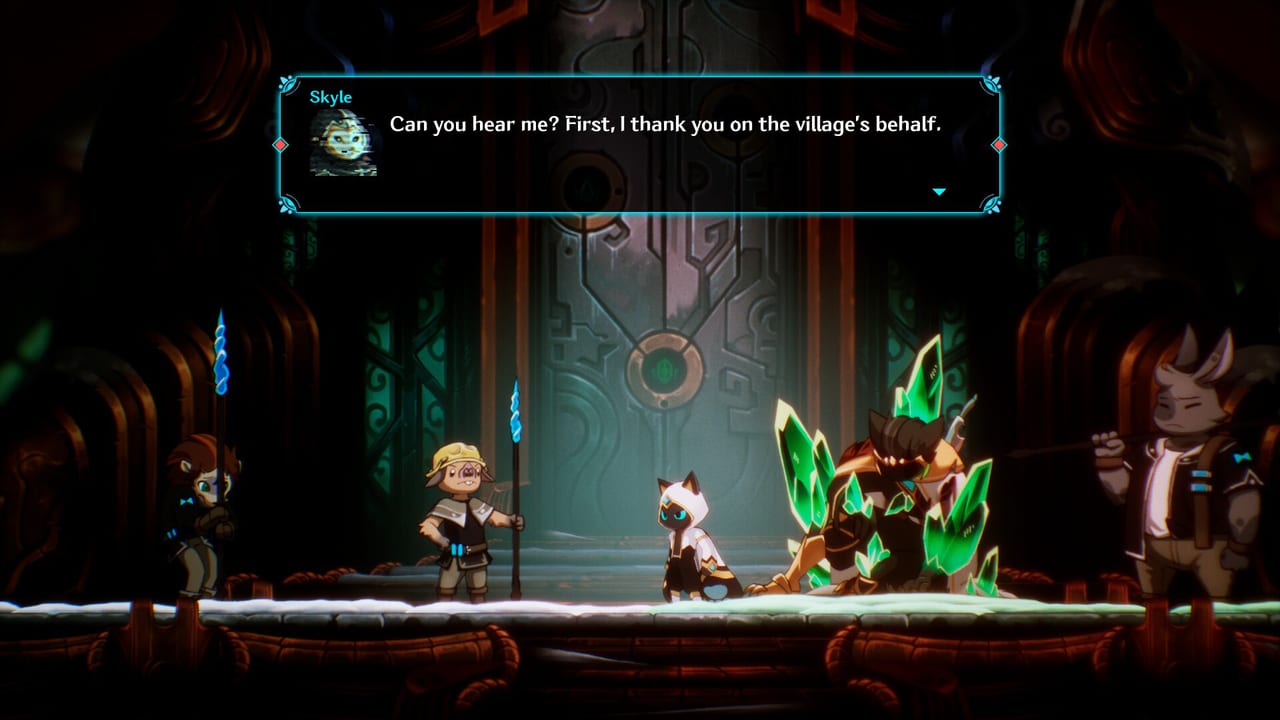
This is a region-by-region route for Fatal Claw 1.0 using official names from teasers and patches. It is not a claim that you must clear each region in this exact list order. The game is a Metroidvania: you will bounce, you will miss a door, and you will return with Blink, glide, wall climb, Lyani’s Claws, or the 1.0 Silver Chain. When a connection is unconfirmed, this page says so. Pair it with Getting Started if you are still in the lab, the Map Hub for geography, and the Bosses Hub when a named fight is the wall.
How to use this route
Open Carox (Cat Radar Codex) from the start and drop markers on every gated ledge. Stone Warp becomes useful once you have multiple rest points; do not wait for a fake “unlock the entire subway” cutscene. Healing stays a combat resource in every region. Owl statues after bosses restore HP. Difficulty sliders exist if a new tileset spikes harder than your Cabitz. Kannir liquid is toxic; Kannic is the solid currency. Do not drink the wrong one, and do not spend Kannic like a dump stat before you understand shops.
Confirmed bosses you may meet along a full run include Ortrinde (floating blades), Irbes (phase-two copies can clump), Nagaraja (more corpse and lore than a clean tutorial punch), and Enma, the Golden Spirit Wolf. That is not a complete official roster. If a community video names a fight this wiki does not, treat the video as a report, not as a second encyclopedia.
Origin Laboratory and Upper Origin Laboratory
Kisha awakens here. Stained-glass lore covers Commoners, Ancients, Kannir, and King Odz sealing the surface. Learn movement, healing, Cabitz, and Engraved Skills whose mana charges by attacking. Upper Origin Laboratory is the vertical continuation of the same complex. Leave when you can read Carox and you have marked every obvious locked climb. 1.0 added more of this laboratory stack; if you played Early Access, expect new rooms rather than a copy of your old save’s mental map.
Lower Moss Cave
1.0 content. Jibanam Trees and the Jibanam Tribe live in this damp layer. Gym or jibanam sap matters later when you are curing people for ending-related objectives; pick up sap when you see it and do not assume it is junk crafting filler. Movement here is about patience and poison-adjacent terrain, not a fabricated water-physics chapter. If a tree-gated climb needs a later tool, mark it and continue.
Strigine Quarry and Black Canyon
Both arrived in the first expansion (v0.9.228) with Higasha Tundra and Lyani’s Claws. Quarry spaces tend to be industrial and vertical; canyon spaces punish sloppy jumps. Lyani’s Claws are the movement and combat pickup to respect in this expansion block. Costumes from the same patch include Blue Scale Robe and Crimson Flare Dance. Iedart rewards are listed in that expansion’s notes; this walkthrough will not invent their drop tables. If you entered 1.0 without the expansion memories, these regions still exist in the finished map. Clear what you can, mark the rest.
Higasha Tundra, Tenshukaku Interior, Wolf Gate
Tundra is cold, wide, and easy to under-explore if you hug the main road. Wolf Gate is a named threshold, not a fan title. Higasha Tenshukaku Interior is 1.0 castle-in-the-cold content sitting on top of the expansion tundra. Expect indoor verticality after outdoor sight lines. Enma, the Golden Spirit Wolf, is the named character-boss to keep in mind in this story neighborhood. If you cannot open Tenshukaku yet, it is probably an ability or story gate. Mark it on Carox and keep moving.
Lower Elord Castle and Upper Elord Castle
The second expansion (v0.9.265) added Lower Elord Castle with the Stone of Immortality Chamber and King’s Authority, plus Jayma’s Dungeon and Kannir Belt. Upper Elord Castle continues the royal stack. Treat the two castle layers as one political machine: seals, authority, and the stone chamber are story furniture, not optional tourist plaques if you care about Endings. Owl statues as a post-boss heal show up in this expansion’s quality-of-life list; use them. Isaac Manor, the Mirror Chamber, and Elord Castle Grand Square are named spaces in the same royal orbit. Grand Square is a staging ground, not a final credits room by itself.
Jayma’s Dungeon
King Examu and seals. This is dungeon language in the royal plot, added with the second expansion. Bring the movement kit you already have; do not expect this wiki to publish unconfirmed puzzle solutions. If a seal is story-locked, the Stone of Narrative (see endings) is the tracker, not a side-quest log with fake percentages.
Kannir Belt and Kannir Drilling Site
Kannir liquid is toxic. Kannic is solid currency. The belt and drilling site are industrial-Kannir spaces from the second expansion. Economy and hazard are the lesson: you can get rich and you can get melted. Mark refill and shop points on Carox. If a drill shaft drops into a room you cannot climb, that is a later movement problem, not a broken map.
Isaac Manor, Mirror Chamber, Grand Square
These names appear in official teasers as distinct spaces. Manor interiors hide Cabitz and story NPCs more often than open fields. Mirror Chamber is a set-piece name; do not invent a clone-boss just because the word mirror is in the title. Elord Castle Grand Square is the public face of the castle complex. Use Stone Warp so you are not walking the entire royal mile for a single NPC.
Aphotic Marsh
1.0’s black-sludge region. Sorr traces belong here; Sorron is the faction leader you will hear about if you follow that thread. Silver Chain is the named 1.0 pickup tied to this marsh. It is a backtracking tool. When you get it, return to every marker you dropped in the laboratory, quarry, and castle. This is the page’s most important “go backward” reminder. Details and connections live on Aphotic Marsh. Do not skip the marsh on a completion-minded run just because Early Access players never saw it.
Shrine of Ancestors
Named shrine space tied to Kisha’s resurrection theme. Treat it as a story and collectible node on Carox. If a fight happens here, confirm the name in-game. This wiki will not relabel Enma or invent a final-form title.
Backtracking order that actually helps
After Lyani’s Claws, revisit Strigine Quarry and Black Canyon markers. After Tenshukaku opens, sweep Higasha Tundra roofs you walked under. After castle keys and King’s Authority, sweep Lower Elord Castle’s Stone of Immortality Chamber side rooms. After Silver Chain, sweep Origin Laboratory, Lower Moss Cave, and anything marsh-adjacent you flagged. Afterglow walls (blue) and extra-cycle rules are New Game Plus territory; do not burn your first-cycle sap and Acer stones assuming they persist.
If you are stuck, the next click is usually Carox, then All Areas, then a named ability on the Abilities Hub. The Walkthrough Hub is the parent index. Named bosses on this page are reports, not a complete official roster. Survivor counts are whatever the Stone of Narrative and your Carox markers show.
Frequently Asked Questions
Quick answers to the most common questions.
Is this region list a mandatory order?
No. It is a named atlas in a useful reading order. Carox and ability gates decide your real path. Blink, Lyani's Claws, and Silver Chain all force backtracking.
When do I get Silver Chain?
Silver Chain is the named 1.0 pickup tied to Aphotic Marsh. It is not a starting Origin Laboratory claw. Use it to reopen marked rooms.
What is the difference between Kannir and Kannic?
Kannir liquid is toxic. Kannic is solid currency. You will meet both in Kannir Belt and the Kannir Drilling Site.
Which bosses appear in this walkthrough?
Only confirmed names: Ortrinde, Irbes, Nagaraja, and Enma. That is not a complete official roster. See the Bosses Hub for fight notes.
Do I need Aphotic Marsh before credits?
Marsh is 1.0 content with Sorr traces and Silver Chain. Credits and epilogue depend on the Stone of Narrative, not on a fake final zone name. Do not skip marsh on a completion-minded run.