Fatal Claw How to Beat Early Bosses
Laboratory to tundra: named patterns and honest gaps.
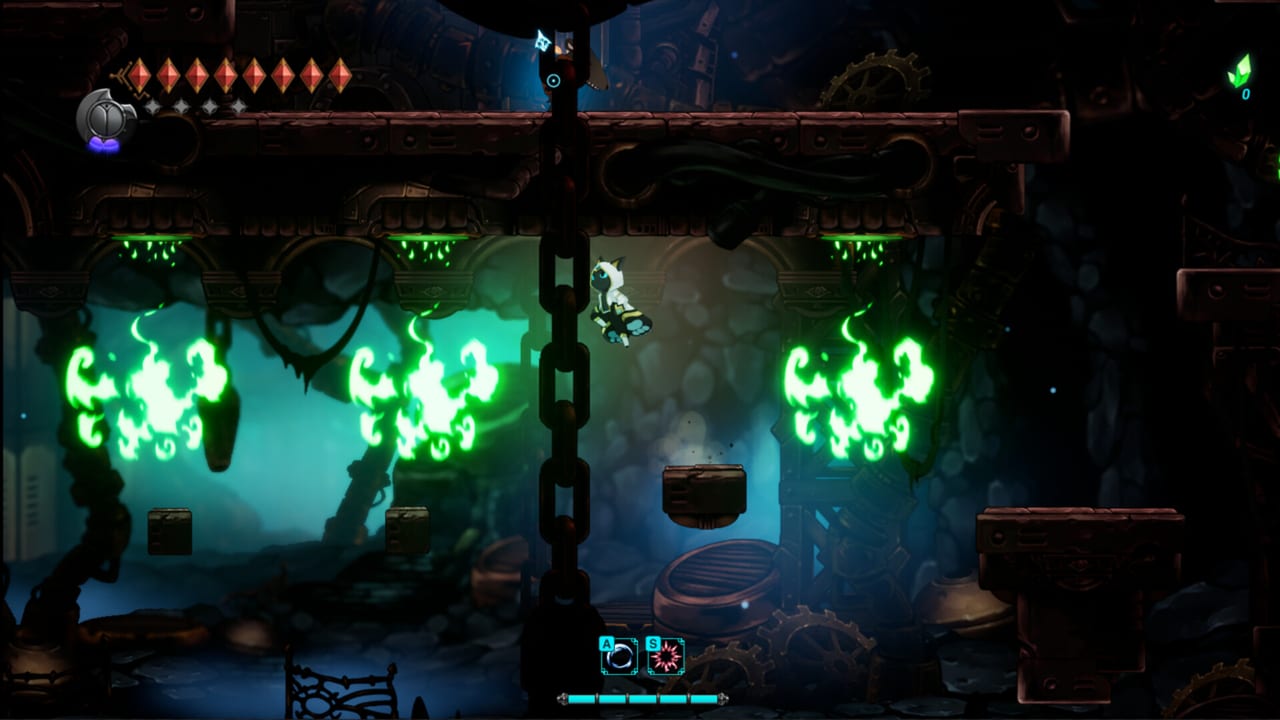
Early Fatal Claw bosses teach the real combat loop: claw strings, Blink, wall climb, glide, and Engraved Skills that charge when you actually hit something. They do not teach a fake three-phase enrage clock. This guide covers the opening band of the map — Origin Laboratory, Upper Origin Laboratory, Lower Moss Cave, Strigine Quarry, Black Canyon, and the approaches to Higasha Tundra — plus the two names with the clearest community pattern notes: Ortrinde and Irbes.
For region order rather than tactics, see Boss Order. For castle, dungeon, Kannir, Enma, and marsh, see How to Beat Late Bosses. Loadout theory lives on Cabitz Builds.
Before you pull the first real arena
Kisha starts weaker than the highlight trailers. Healing is a core system; the developers even framed the opening around teaching you not to treat HP as infinite. Pick up heart pieces, mana pieces, and healing pieces when the Carox pings them. Equip Cabitz as soon as Steam would toast Fine-Tuned. Upgrade the Claw with Kannium when you have it — that is an official achievement loop, not flavour text.
Blink is your get-out-of-jail button. Patch history is full of Blink interactions (camera on Ortrinde, Lightning Chain after Blink, Claw Tree nodes retuned toward Blink Attack Boost). If an early boss is shredding you, the fix is usually better Blink timing, not a mythical double jump you do not have yet. Wall climb and glide come online as you explore; grabbing a wall while gliding was added from player feedback and is legal.
Bring at least one Engraved Skill you can actually charge. Empty spenders lose fights. Snaga’s Lightning Chain is a named early-middle tool whose duration was patched (shorter base, more time per extra target). Use it when enemies clump.
Origin Laboratory, Upper Origin Laboratory, Lower Moss Cave
Saitin is the earliest Steam boss name. There is no public move list. Treat the arena as a tutorial exam: do not panic-roll into a corner, do not spend all healing before you have seen two full attack cycles, and do not ignore destructible props. After the clear, check for an owl statue.
Mirkam is tied to restoring power to a village. Expect a fight that is entangled with a facility objective — lights, gates, or a generator fantasy — rather than a pure duel in a featureless box. If adds appear, they are probably there to feed mana through hits. Prioritise surviving the mechanic that turns the lights back on.
Lower Moss Cave is Jibanam forest gone wrong. Water and contamination matter. Steam tracks Meditation of Jibanam as a mutation for water fear. If a moss guardian uses the pool as a hitbox, leave the drink until you have the mutation or a safe ledge. Do not invent a poison-percent DOT; just respect standing in bad water.
Nagaraja may appear as a corpse with Carbo’s Prayer. That is not an early DPS check. Read the room and keep moving.
Strigine Quarry and Black Canyon
Quarry fights happen in wind. Updrafts will throw your jump arc. Glide, then grab a wall if the patch-enabled cling is available, rather than mashing jump into a ceiling hit. If you find a spot where you cannot take damage, move — a quarry invincibility bug was patched, and standing in a cheese corner is not a strategy.
Black Canyon is dark mud and old Imprint School work. Engraved Skills belong here thematically. Charge by hitting, then spend on the elite, not on the first weak infected in the hallway.
Irbes
Community consensus is specific enough to teach: phase-two copies spawn clumped, and that clump is easy mana. Do not scatter them with wild Blinks unless you are about to die. Plant your feet (or a short hop), keep the claw on the pile, and let Engraved Skills fill. If a copy teleports out, re-collapse on the group instead of chasing one stray across the whole arena.
We will not invent Irbes HP thresholds. When the copies appear, you are in the mana window. When they do not, you are in the single-target window. Owl statue after the win.
Ortrinde
Ortrinde is the other early name with a useful warning: floating blades that are poorly telegraphed. Official patch notes even mention a camera issue if you stay airborne with Blink plus a downward attack during this fight. Practical translation:
- Keep Blink for blades, not for style points.
- Do not live in the air hoping a downward attack is a safe loop. The camera and the blades both punish it.
- Treat empty air as dangerous. If a blade can exist without a huge wind-up, your default is small movement, not a full combo.
- Wall cling if the arena allows it; a vertical reset is often cleaner than a panic Blink into a second blade.
Ortrinde is a discipline check. Cabitz that help you stay calm — Half Salvation Stone for sustain, Boundless Focus only if you understand its mana rules — beat greedy damage charms you cannot live long enough to use.
Higasha approaches (still “early” for some saves)
You may taste tundra weather before you are ready for Enma. Sommar is a named Steam defeat in this broader band with no public pattern card. Scout like Saitin. If illusions start, you have probably crossed into Enma territory — that belongs on the late page. Turn around if Wolf Gate is still a story wall and you came for quarry loot.
Healing, mana, and Blink as a system
Early wipes are usually resource wipes. You spent heals on trash, entered the arena empty, then Blinked on cooldown at nothing. Reset that habit:
- Arrive with a plan to use one heal after you have seen a full cycle, not before.
- Treat clumped hits (Irbes copies, packed infected) as mana. Engraved Skills want contact.
- Blink is i-frame-adjacent movement in the way players talk about it, but this wiki will not invent a frame count. Blink when the blade or swipe is committed, not when you are bored.
- Owl statue is post-fight recovery. It does not replace pieces you should have collected on the Carox.
If the early game still feels brutal, drop to a gentler difficulty while you learn Ortrinde’s steel, then raise it. Fatal Claw is single-player. There is no teammate to rez you, and there is no shame in reading a pattern on a lower setting.
When these arenas feel honest, move to How to Beat Late Bosses with a Claw that has seen Kannium, a Cabitz row that is not empty, and a Blink finger that does not twitch at every shadow. The Getting Started walkthrough page is the better hand-holder if you are still lost in the laboratory hallways rather than in a named duel.
Frequently Asked Questions
Quick answers to the most common questions.
What should I upgrade before the first bosses?
Kannium on the Claw, any Cabitz you can equip, and heart / mana / healing pieces. Blink practice matters more than a fake damage gem. Do not wait for an invented fifth Mutated Ability slot.
Why do Irbes copies matter?
They spawn clumped in phase two, which makes them an easy mana source because Engraved Skills charge from hits. Hit the pile; do not isolate one copy unless you need to stop a specific attack.
How do I deal with Ortrinde's blades?
Assume they are under-telegraphed. Save Blink for the steel, avoid living in Blink-plus-downward-attack juggles, and take the owl heal after. There is no published blade cooldown to memorise.
Is Saitin harder than Irbes?
Steam only tells you Saitin is defeated earlier by more players. Difficulty is personal. Scout Saitin like any unnamed pattern; use the Irbes clump rule when copies appear.
Can I skip early bosses with Silver Chain?
Silver Chain is a 1.0 Aphotic Marsh tool, not an early-lab skip. Beat the opening band with Blink, climb, glide, and Lyani's Claws as you unlock them.
Do owl statues appear after early bosses too?
The feature was added for boss encounters in general. If a statue is in the room, use it. If a small elite room has no statue, that fight was probably not classified as a boss.